In this tutorial, we will use the combination of Adobephotoshop and illustrator to create a lifelike tomato paste text effect. We will also show how to apply or apply ketchup at the last optional step. Let's get started!
1, prepare the text
1th Step
First, we will need the text. If you are good at hand lettering, you can simply draw the text you want. If not, open illustrator, create a new file, and use the Add Text Tool (T).

2nd Step
Using the Pen tool (P), manually draw text based on the actual font type. It's not going to be so clean. But it doesn't matter, because we want it to be as realistic as possible.
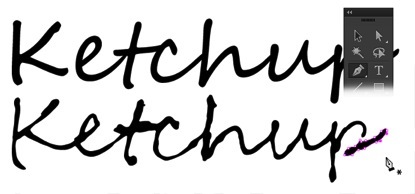
3rd Step
Add a line. Keep it as realistic as possible.
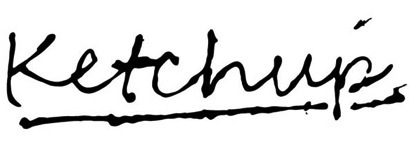
4th step
Select the path, and then press the CTRL-C combination to copy it.
5th step
Open Photoshop. Make the new file (Control-N) size 2254 pixels by 964 pixels.
2, modify the text in Photoshop
1th Step
Paste the text you just copied in the AI into PS.
While the text path is still valid, click the Add Adjustment layer icon. Select a solid color. In the Color Picker dialog box, select #db4b17.
2nd Step
Double-click the text layer, and then apply the styles.
The following is the result of adding a layer style
3rd Step
Control-click the text to make a new selection based on its shape. Make the new layer. Click Edit > Stroke. Select the color of the #ffdbbb and set its width to 2 pixels.
Classification:



